2.3 Casts of the Upper Limb
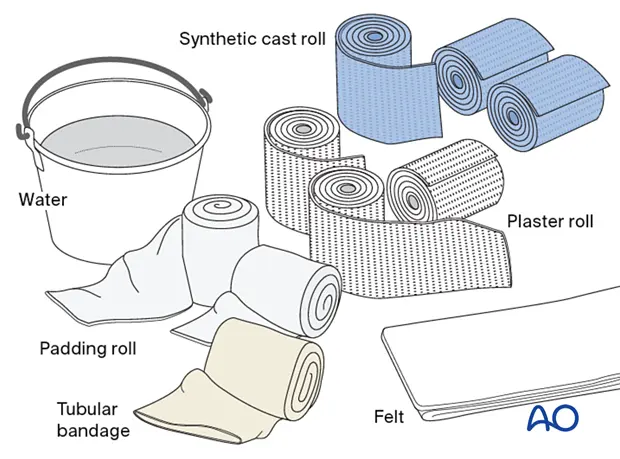
Materials
-
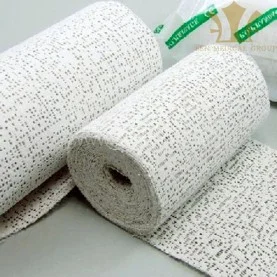
Plaster of Paris (Gypsum)
-
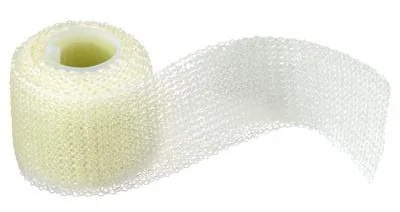
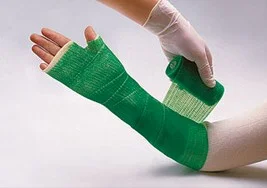
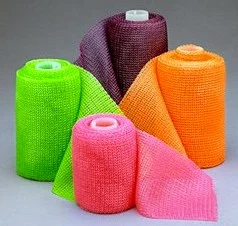
Synthetic Fiberglass
Order of appliance
- Tubular Bandage
- (Optional) Felt padding for specific areas
- Padding Roll (Wadding)
- (Dip casting material in) Water (for activation)
- Plaster Roll OR Synthetic Cast Roll (applied and molded)
Below Elbow Plaster Slab
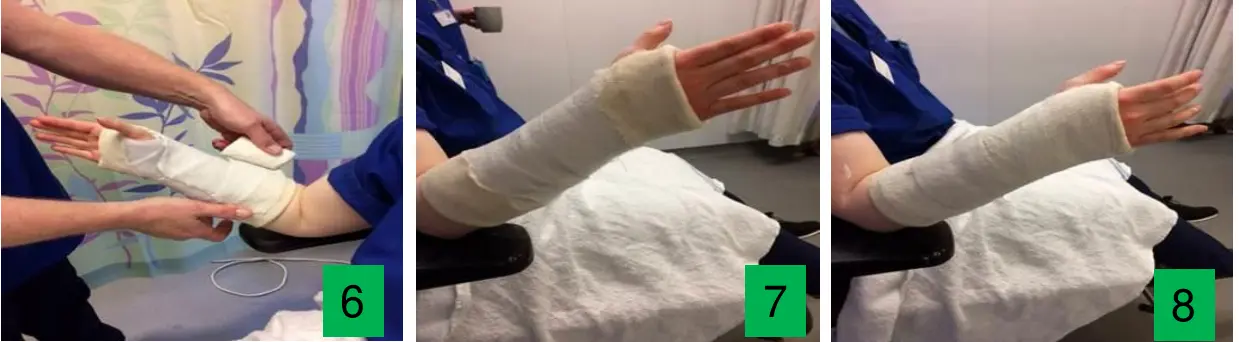
Below Elbow Back-slab Application Guide Materials Required : 1 x length of 5cm stockinette 1 x Roll of 7.5cm sofban 1 x Roll of 7.5cm Crepe bandage 1 x Roll of 15cm Plaster of Paris •••Apply the Sofban using a 50/50 overlap Measure the Slab from the base of the knuckles to two fingers from elbow crease Use 6 to 8 layers ••Cut a half circle for the thumb area Secure slab using wet crepe bandage under slight tension
Indications: Distal Radius fractures Ulna styloid Distal Radius ‘Colles’ type Distal Radius Greenstick/Torus Scaphoid
Equipment Required
Basic trolley, see page 28 - plus:
Plaster of Paris
- Stockinette 5cm
- Soffban® Natural padding 10cm x 1 roll
- Gypsona® 15cm or 20cm x 1 roll or use a slab dispenser of the equivalent size
- Soffcrepe® bandage 7.5cm x 1 roll
- Strips of plaster of Paris
- Actimove® Umerus Sling or broad arm sling
Above Elbow Plaster Slab
Equipment Required
Basic trolley, see page 28 - plus:
Plaster of Paris
- Stockinette 7.5cm (if used)
- Soffban® Natural padding 10cm x 2 rolls
- Gypsona® 10cm x 2 rolls and 15cm x 2 rolls or use slab dispensers 10cm and 15cm
- Soffcrepe® bandage 10cm x 1 roll
- Actimove® Umerus Sling
Application
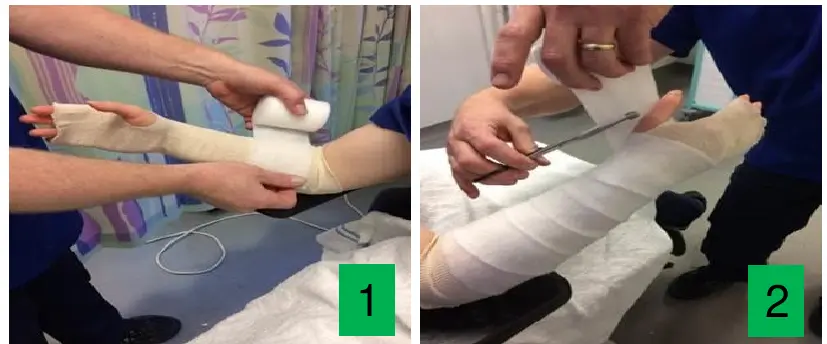
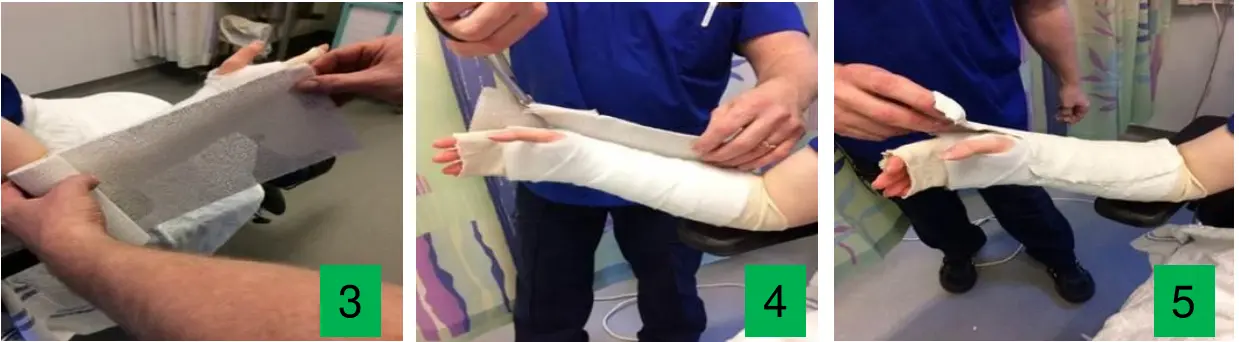
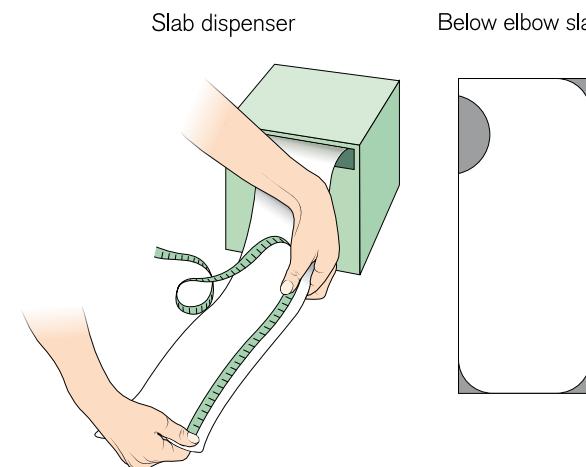
The medical staff may prefer slabs to full casts. These are made by measuring the length required, the extent being the same as for a full cast. Add on 2cm to the length to allow the slab to be long enough to conform to the contours of the limb. The required length is cut from a plaster of Paris slab dispenser 15 or 20cm wide, depending on the size of the patient, or by forming a slab from 15 or 20cm plaster of Paris rolls using five to six layers. The slabs are then shaped, trimming top and lower end as required.
The limb is positioned and padding applied as for a full cast. The slab is folded concertina fashion and dipped into the water, holding the ends and maintaining the concertina folds. It is removed from the water, squeezed gently and straightened out. The slab is then carefully positioned on the limb and smoothed to fit the contours.
It is held in place with a wet crepe or cotton conforming bandage. These must be pre-soaked and squeezed out to avoid further shrinkage. The end of the bandage is fixed with a plaster of Paris strip applied over the area of the slab.
Application
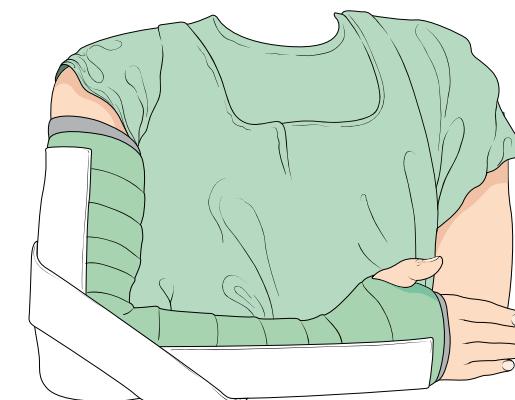
The ultimate position of the limb will be dependent on the injury and displacement, if any, but will generally be about 90° at the elbow.
Prepare a 15cm or 10cm plaster of Paris slab, depending on the size of the patient, using 5 - 7 layers. This slab should be long enough to extend from the axilla to the knuckles of the hand. Remember to allow a little for the slab to conform to the contours of the limb.
Prepare also 2 x 10cm plaster of Paris slabs of 5 layers and 25cm long. Place these each side of the elbow joint to reinforce it. The whole slab is then held in place by a pre-soaked and squeezed out crepe or conforming cotton bandage. Finish the application as for a below elbow slab.
2.3 Casts of the Upper Limb
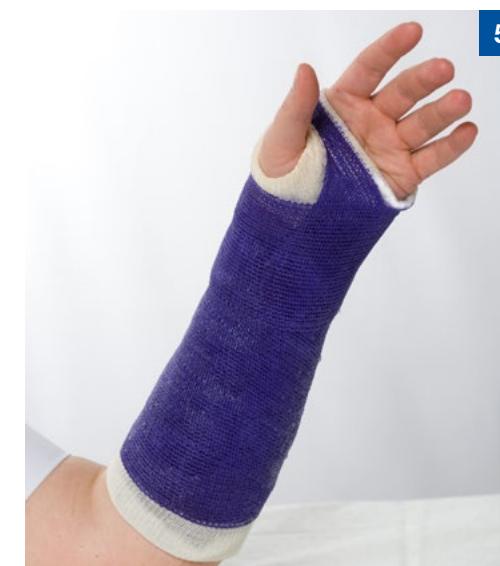
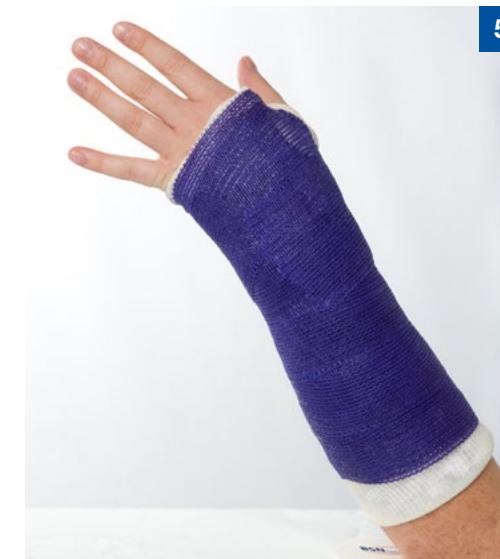
Below Elbow or Colles’ Type Cast
A ‘Colles’ cast’ is a very loose term used to describe a type of cast applied in the treatment of many wrist injuries and conditions. The wrist should be positioned in slight palmar flexion and slight ulnar deviation, to a greater or lesser degree, according to the amount of displacement of the fracture. The position will be different for other injuries.
The completed cast should extend from just below the elbow - allowing full flexion there - to the knuckles at the back of the hand, and must show the palmar crease, to allow full flexion of the metacarpal phalangeal joints. The thumb should be completely free.
Equipment Required
Basic trolley, see page 28 - plus either of the following options:
Plaster of Paris
- Stockinette 5cm
- Soffban® Synthetic padding 10cm x 1 roll
- Gypsona® 10cm x 2 rolls
- Strips of plaster of Paris
- Actimove® Sling
Padding
Apply stockinette only swelling is unlikely. The ulnar styloid may require a circle of felt. A covering of undercast padding is applied firmly, smoothly and evenly.
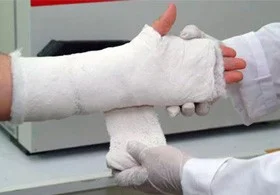
Application
Casting commences at the elbow end of the cast, rolling from within out so that the bandage is brought up through the grip, thereby spreading the heads of the metacarpals. Pass through the grip twice with the first bandage. Start the second bandage at the elbow end as before, this time taking one further turn through the grip before completing the bandage back up the arm to the elbow. Mould the cast well into the palm.
When the cast is finally set, the limb is rested on a pillow and the cast is trimmed to allow all joints not encased to move freely. Make sure the palmar crease is fully visible to allow full flexion of the metacarpal phalangeal joints.
If stockinette was used it should be turned back over the edge of the cast and held in place with strips of plaster of Paris.
This applies to all upper limb casts. Full instructions must be given to the patient on the care of their limb and of the cast. These must be given verbally and in writing. A sling may be required initially, but do not forget to give information on exercises to prevent swelling and finger, elbow and shoulder stiffness. (See Appendices III and IV.) Follow-up care must also be arranged.
Synthetic
- Stockinette 5cm
- Non-adhesive felt 2.5cm
- Adhesive felt 2mm thick
- Soffban® Synthetic padding 10cm x 1 roll
- Delta-Cast® Conformable 5cm x 1 roll or 7.5cm x 1 roll
- Tensoplast® Sport cast edge tape 3cm
- Actimove® Sling
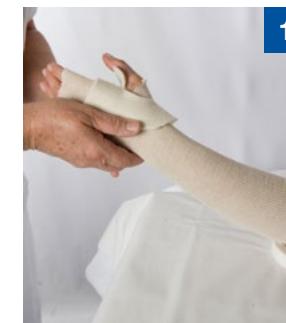
Padding
1 Apply stockinette and pad the ulnar styloid with felt, if prominent. Use a thin layer of non-adhesive felt around the base of the thumb or apply a smaller size stockinette to the thumb.
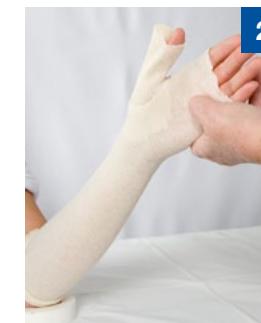
2 The 2mm adhesive felt may be needed to pad the edges of the cast. A covering of undercast padding is applied firmly, smoothly and evenly.
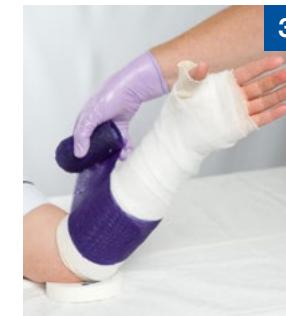
Application
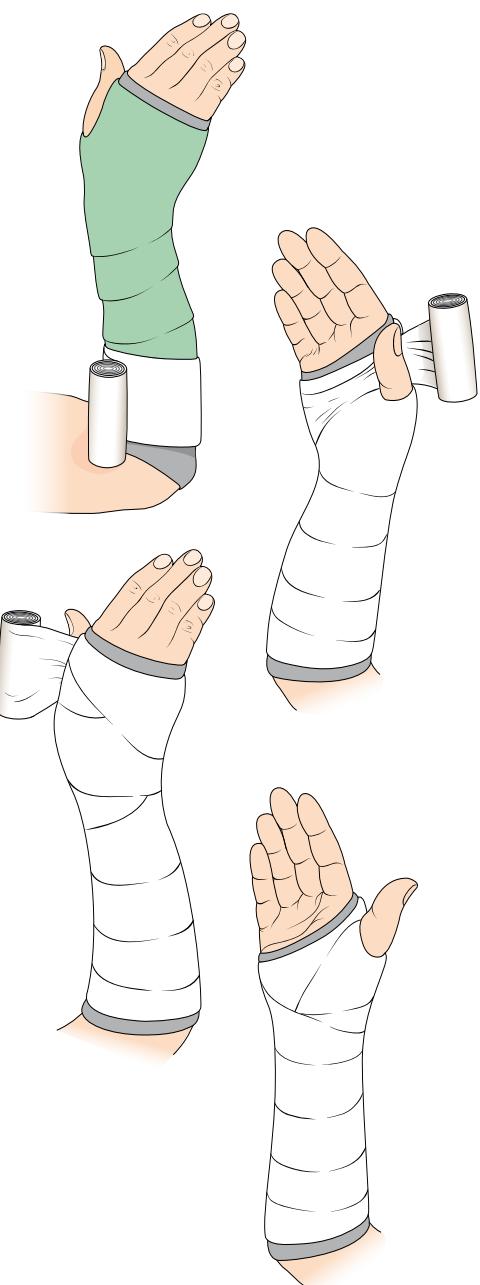
3 Use either 1 x 5cm or 1 x 7.5cm casting bandage depending on the size of the limb. Bandaging commences at the elbow end of the cast, rolling from within out so that the bandage is brought up through the grip, thereby spreading the heads of the metacarpals, using a 50% overlap to create two layers.
4 Make a slightly curved cut to allow the bandage to go through the grip, laying the bandage on carefully.
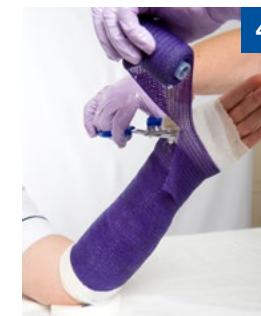
Continue across the metacarpal heads and around the hand, returning through the grip on the next turn, cutting as before. Twice through the grip is sufficient. Continue with the bandage back up the arm in a single layer, turning in the stockinette at the elbow end, catching it with the last turn of the bandage.
Mould well into the palm and hold until the material has set. Trim, if necessary, to complete, turning in the remaining stockinette and hold in place with the adhesive tape.
5 Completed cast.